Effortless Transformations with Peel-and-Stick

Today we’re diving into peel-and-stick upgrades for a clean, minimal rental home—practical, reversible changes that protect deposits while elevating calm lines, light, and order. Expect renter-safe surfaces, measured steps, and honest tips from real weekend projects. Share your questions or subscribe for more gentle, achievable refreshes that honor leases and still feel personal.

Quick Wins That Respect Your Lease

Choosing Safe Adhesives

Look for adhesives labeled removable or low-tack, ideally with technical data about dwell time, shear, and temperature ranges. Sample first on hidden zones, wait a full day, then peel and inspect. If paint lifts or leaves tacky film, switch brands before scaling across larger surfaces.

Surface Prep That Matters

Clean with mild degreaser, rinse, and dry longer than you think—moisture hides in tiny pores and causes failure. Knock down bumps with fine sanding where permitted, and wipe dust with microfiber. Finally, map reference lines using a level so sheets land square without stretching.

Removal Without Residue

Warm edges gently with a hair dryer to relax adhesive, peel back at a shallow angle, and keep tension even. Roll residue with your thumb or citrus remover, then wash and rinse. Photograph restored surfaces for records, and patch nail holes to leave spaces spotless.

Room-by-Room Clarity

Kitchen Efficiency

Use heat-rated backsplash panels near cooktops, and keep wraps clear of oven vents. Label zones like sink, prep, and coffee so materials match exposure. Magnetic or adhesive hooks corral tools, while matte finishes fight fingerprints. A narrow runner tile behind the faucet adds sparkle without crowding.

Bathroom Calm Proofing

Favor films designed for high humidity, and seal edges lightly where splashes occur. Frosted window film preserves privacy while softening morning light. Choose light, stone-like patterns to avoid visual clutter, and keep lines aligned with grout to read intentional, crisp, and quietly luxurious even in small spaces. After months of steamy mornings, a renter added anti-fog film near the vanity and felt mornings calmer, with cleanup reduced to seconds.

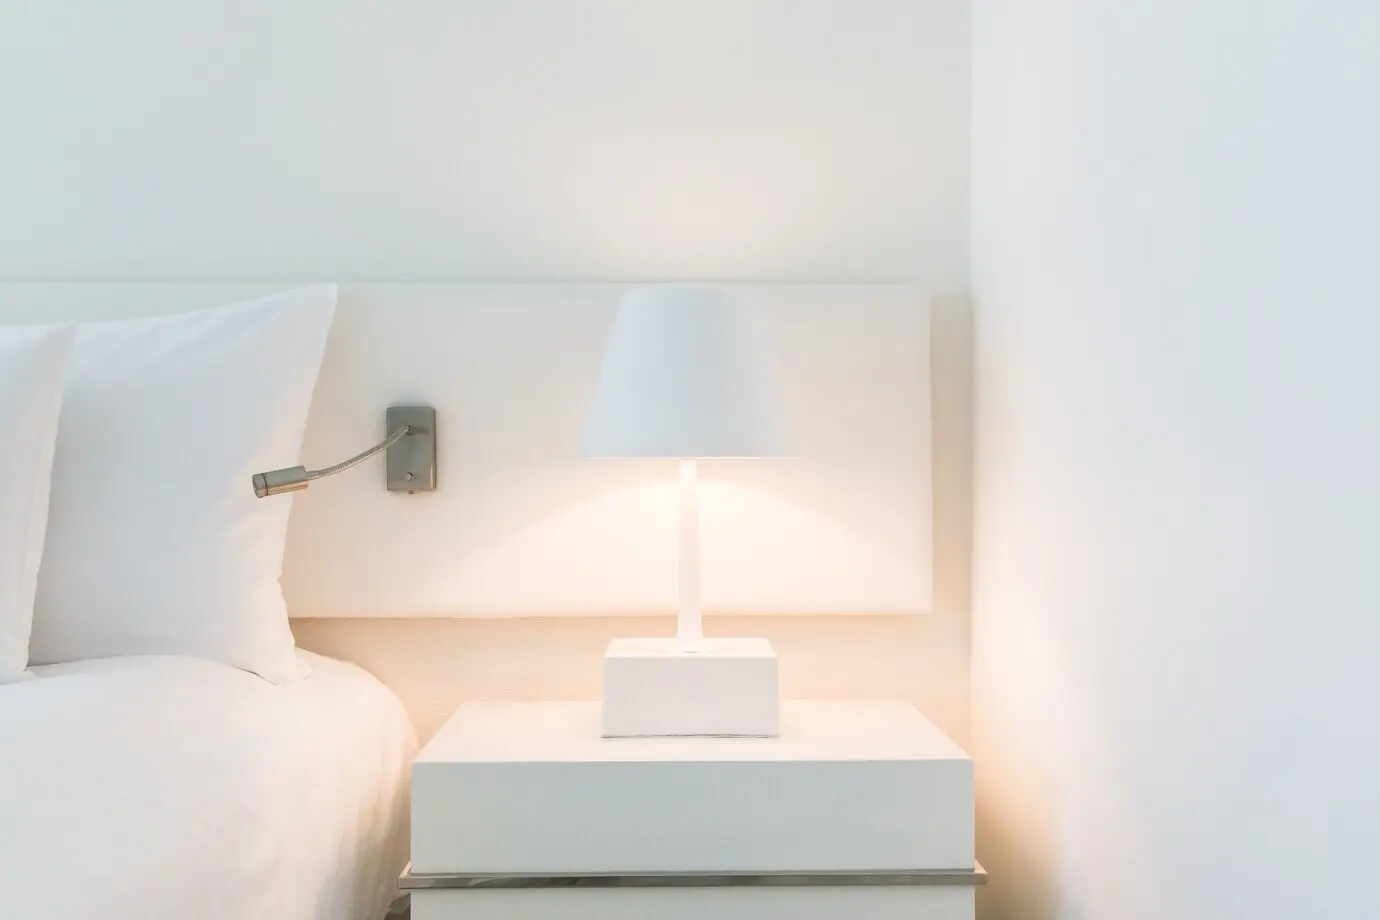
Bedroom and Living Quiet

Use removable wall panels behind the bed or sofa to create a calm anchor, then keep surrounding walls simple. Cable raceways stick cleanly and hide wires, letting negative space breathe. Thin baseboard decals or quarter-round strips finish edges, reinforcing straight lines that amplify spacious, restful feeling.

Palette Planning with Neutrals

Begin with clean whites, warm grays, or gentle beige, then layer subtle wood tones and charcoal accents. Use one repeating material to knit spaces together, reserving contrast for a single plane. This restraint calms sightlines, makes rooms feel larger, and keeps rental finishes feeling cohesive and intentional.

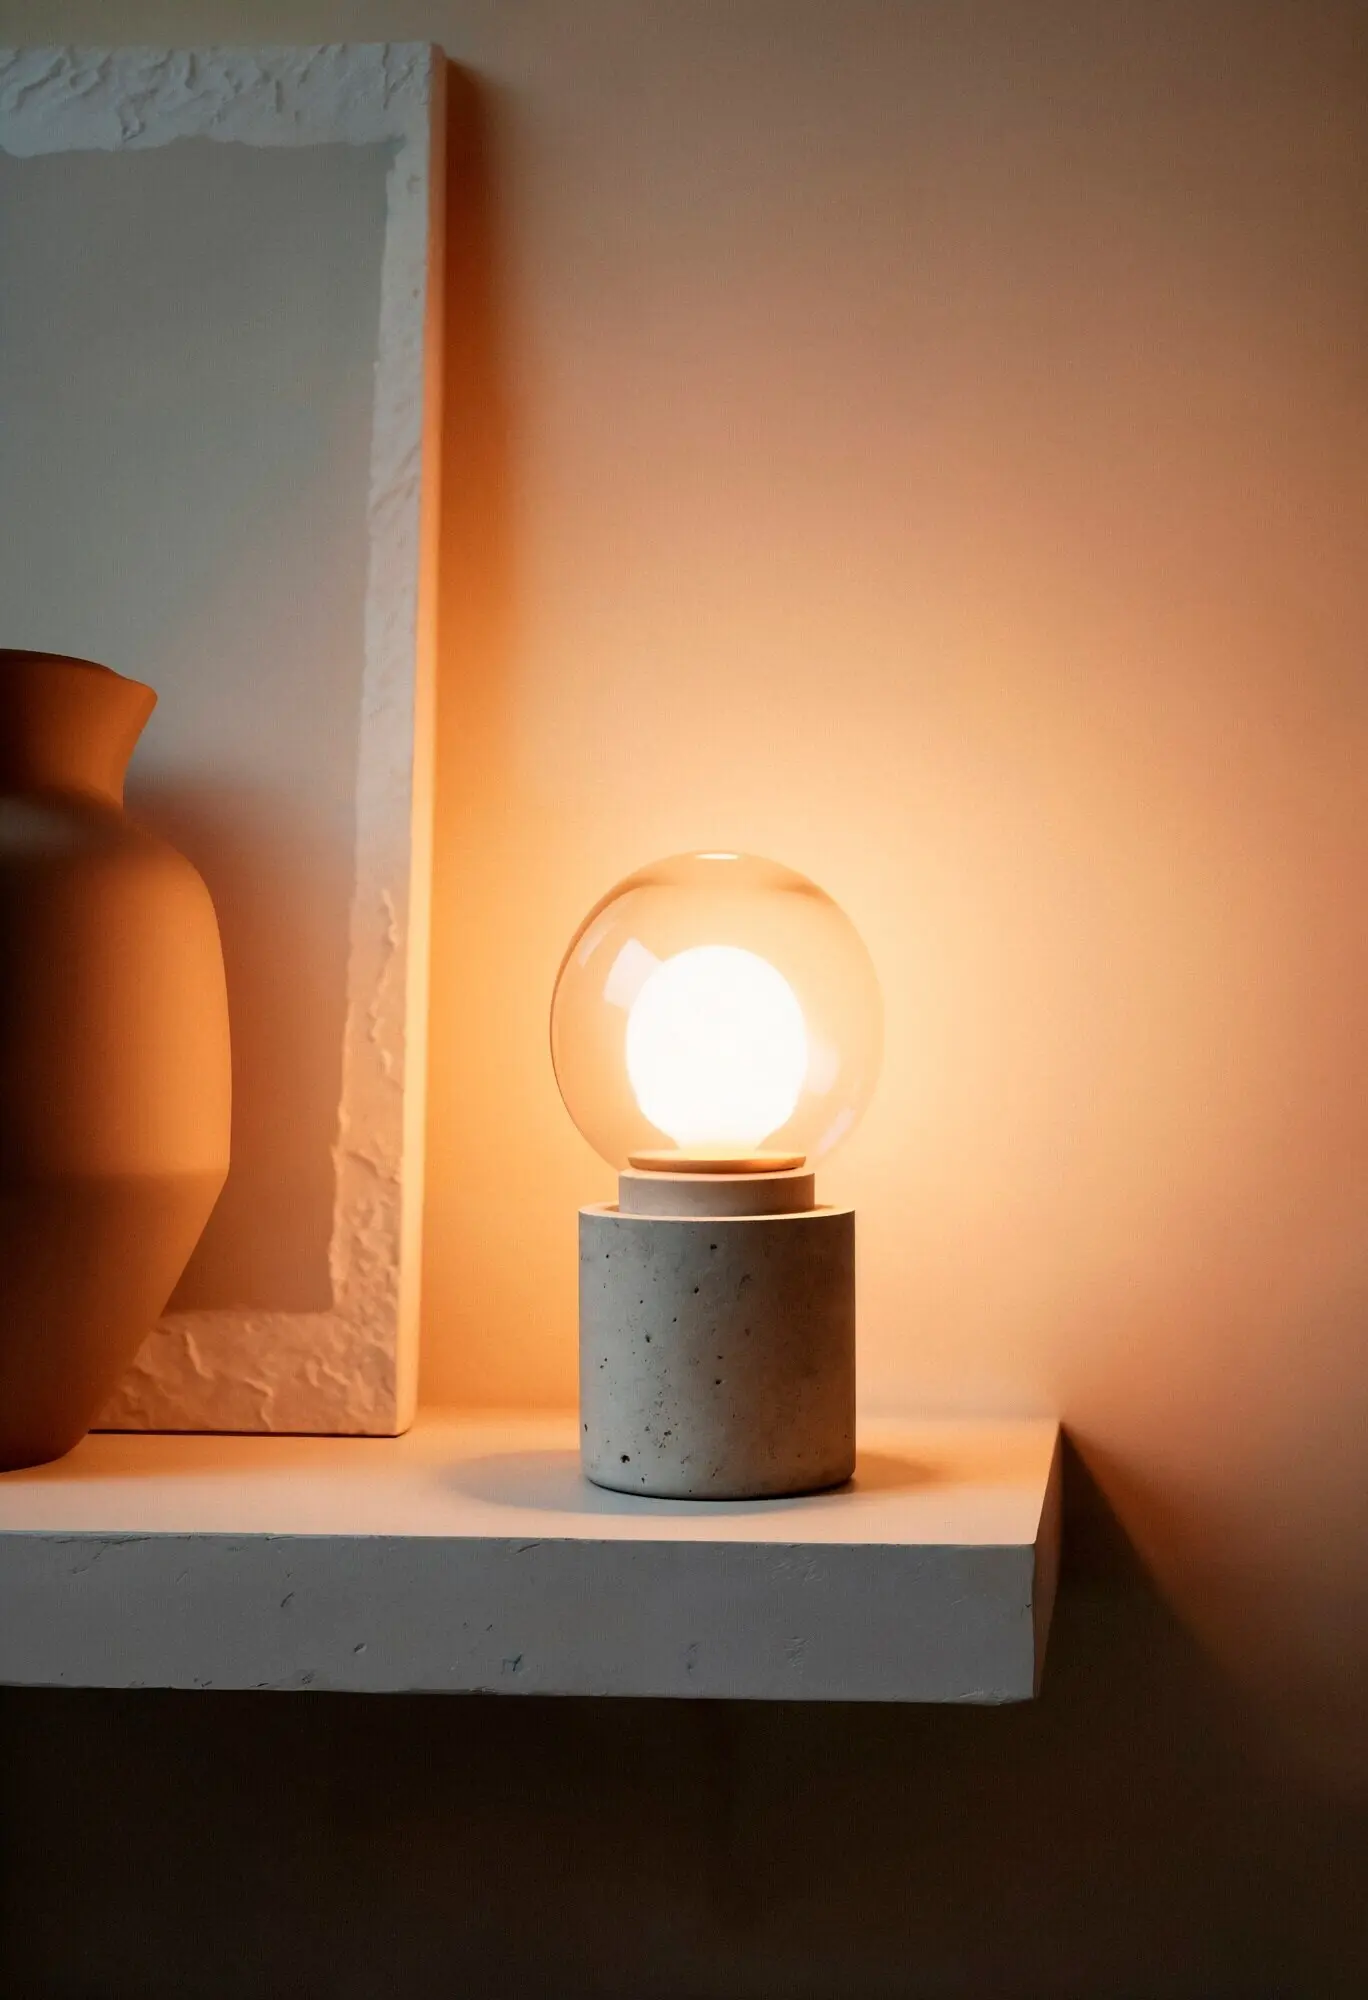
Texture, Light, and Lines

Mix matte, eggshell, and lightly textured films to catch light softly without glare. Align seams with existing architectural lines to extend order. Consider under-cabinet LED strips with adhesive channels to wash surfaces evenly, sharpening shadows and making minimal layouts feel deliberate, balanced, and soothing throughout long evenings.

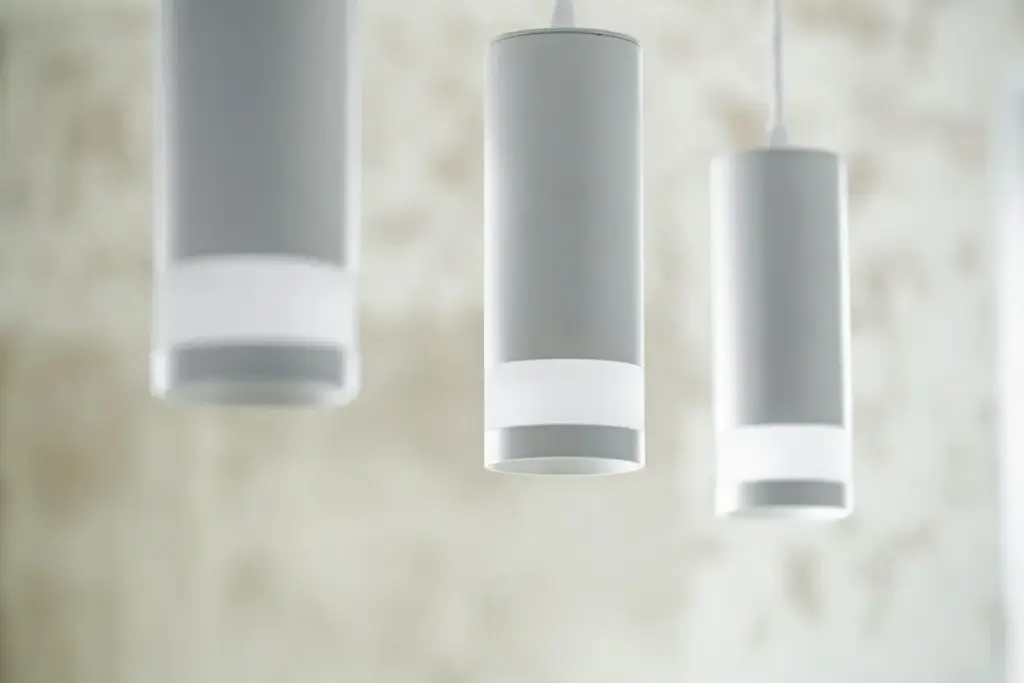
Scale, Alignment, and Breathing Room

Large-scale patterns read calmer than small busyness, and wide planks or oversized hex tiles minimize seam count. Keep margins consistent at edges and outlets. When in doubt, leave more negative space; the white breathing room becomes part of the design and helps every object feel purposeful.

Design for Minimal Calm

Minimalism thrives on intention, repetition, and breathing room. Peel-and-stick finishes can either clutter or clarify depending on pattern scale, sheen, and placement. We’ll map a restrained palette, emphasize tactile warmth, and use alignment tricks so upgrades disappear into the architecture while delivering function, order, and serenity.

Budget, Sourcing, and Timing

A minimal home rewards deliberate pacing. Break upgrades into zones, measure twice, and purchase only what each weekend requires. Track cost per square foot, shipping times, and return windows. Samples save money, while batch cutting, labeled rolls, and clean tools turn short sessions into striking, consistent results.

Cleaning That Preserves Finish

Use pH-neutral sprays or a drop of dish soap in warm water, never abrasives. Wipe spills immediately, especially oils near ranges, and dry edges carefully. Monthly, re-press lifted corners with gentle heat and a roller so seams stay flat, quiet, and nearly invisible against bright light.

Heat, Steam, and Sunlight

Bright sun and steam challenge adhesives, so combine shade, ventilation, and strategic materials. Add a slim heat shield beside ovens, run exhaust fans longer, and choose UV-stable films on bright walls. Periodic inspections catch issues early, keeping lines crisp and your minimalist calm intact through seasons.

Move-Out Strategy and Documentation

Before removal, take wide and close photos, note paint codes, and schedule enough daylight. Peel patiently, bag scraps, and recycle cores. If paint blemishes appear, patch, feather, and touch up. Leave a short letter explaining reversible upgrades; many landlords appreciate care and accelerate deposit returns.

Mopevokolafixozoni
Privacy Overview

This website uses cookies so that we can provide you with the best user experience possible. Cookie information is stored in your browser and performs functions such as recognising you when you return to our website and helping our team to understand which sections of the website you find most interesting and useful.